Barbara's TutorialHow to Sculpt a Little Baby Head (about 1 1/2 inches)Tutorial images and text by Barbara Felts
|
 |
 |
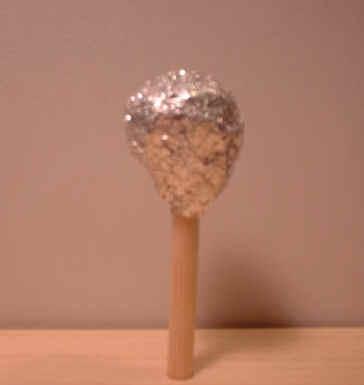 |
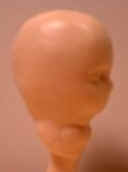
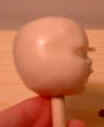
| 1. Start with a small dowel and a stand. | 2. Crumple a piece of aluminum foil onto the end of the dowel and slowly form into a skull shape. (No larger image) | 3. This is a picture of the foil skull from the side. It is only about 1 inch from top to bottom. |
 |
 |
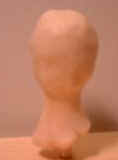 |
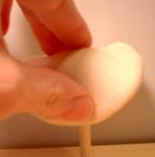
| 4. Take a pancake shaped piece of clay about 1/4" thick. This is Cernit clay but you can use any brand of oven baked clay. | 5. Lay the pancake over the skull and gently press it down to the following shape. (No larger image) | 6. Smooth this to look like the shape below [in step 7]. (No larger image) |
 |
 |
 |
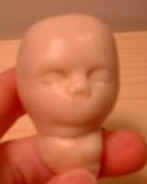
| 7. Find the halfway mark from the top of the head to the chin. Then halfway mark between that mark to the chin, then the halfway mark from that one [the second mark] to the chin. The top line will be where the eyebrows are, the middle line is the tip of the nose and the bottom line is the mouth. (No larger image) | 8. Using a sculpting tool of some kind (I use a 3 in 1 tool from Jack Johnston) form the eyes. While forming the eyes the bridge of the nose and the eyebrows start to form. (No larger image) | 8a. [A side view of the basic eye and nose forms - note slight indent beneath brow on bridge of nose]. (No larger image) |
 |
 |
 |
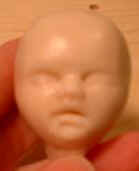
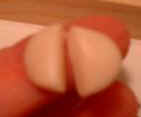
| 9. Put the nostril holes in with some small pointed object like a toothpick then use your scuplting tool to form the outside part of the nostrils. (No larger image) | 10. Make a frowny slit halfway between the nose and the chin about the width from the corner of each eye. (No larger image) | 11. Use your sculpting tool to form the upper lip by working the clay up and out, and the lower lip by working the clay down and out. (No larger image) |
 |
 |
 |
| 12. Work at it until everything is how you want it. Then cut the junky clay off of the bottom. (No larger image) | 13. After it is all formed and the junk piece is cut off, add a fresh roll of clay to the bottom for a neck, and form a groove to attach to the body later. [Always remember, when adding parts like this neck, to be careful not to smoosh the face you have so painstakingly crafted!] (No larger image) | 13a. [Another view of step 13]. (No larger image) |
 |
 |
 |
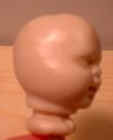
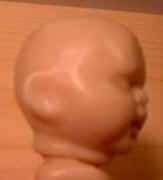
| 13b. [A side view of Step 13 - note slight slope from back of head to front, jaw line]. (No larger image) | 14. Take a flat piece of clay and cut in half for the ears. (No larger image) | 15. Attach one of the pieces of clay to the side of the head and make a rough ear shape. [Note placement - between the eyebrow and the mouth, and the front edge roughly halfway between the front and the back of the head. Also note the scale of the ear, not evident in the previous image.] (No larger image) |
 |
 |
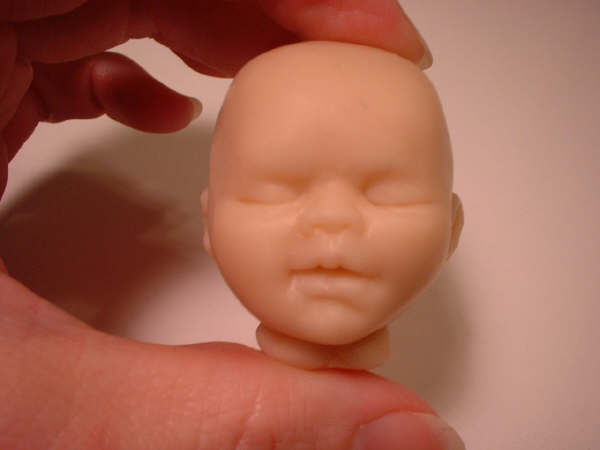 |
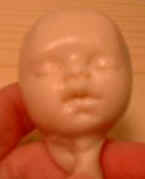
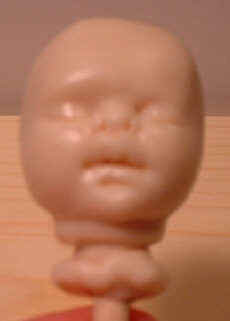
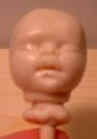
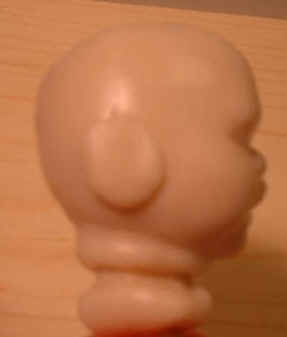
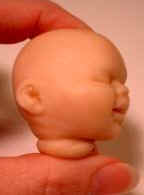
| 16. Use a sculpting tool to shape and detail the ear. (No larger image) | 17. Picture of the baked unpainted head. [Notice the details in the ear.] (No larger image) | 17a. The baked head, front view. |
Return to Top of Barbara's Tutorial
Doll Annex Tutorial Main Page
Background from Absolute Background Textures