Kari's TutorialTutorial images by Kari
|
 |
 |
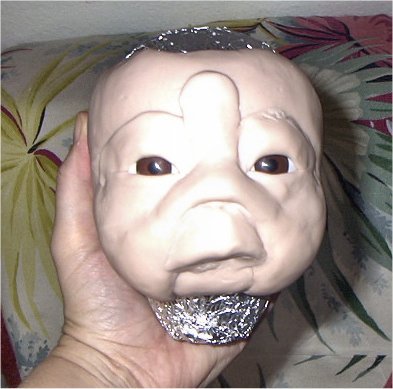 |
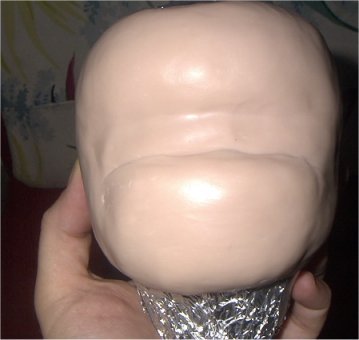
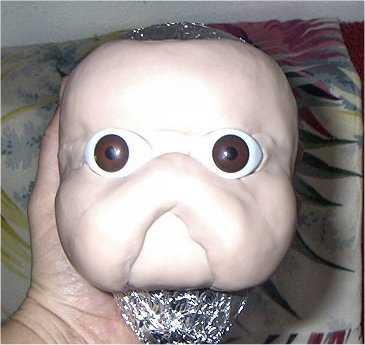
| 1. A foil head base has been covered with clay. There is a dent across the eyeline, and the lower face and brow appear to protrude. | 2. The eyes have been set - notice the spacing, one eye-width between eyes. A large inverted V-shape has been placed over the lower face. This will form the base of the nose and cheek fat-pads. | 4. A strip of clay has been added between the brows for the bridge of the nose. More clay has been added over the eyes for the eyebrow ridge and upper eyelid. A small amount of clay beneath the eye forms the lower lid. The upper lip has been placed. The nose now has nostrils and sticks out from the fat pads to either side. |
 |
 |
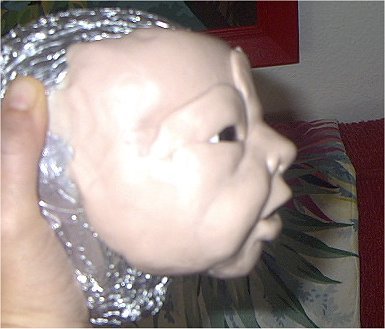 |
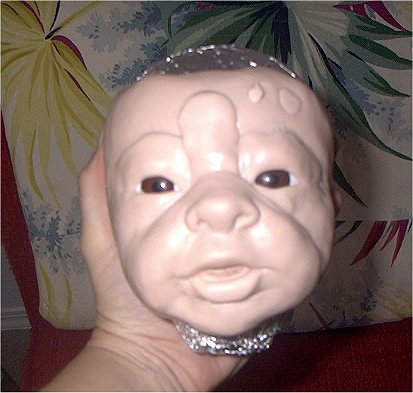
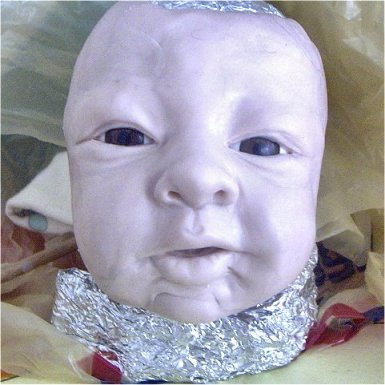
| 4. A side view, showing how the clay is being smoothed out and shaped. Notice how far the upper lip projects in relation to the nose and chin area. | 5. In this front view, the lips, cheeks and eyes have been refined. A chin and lower lip have been added. | 6. A side-view. showing how the lips, chin and nose continue to be refined. |
 |
 |
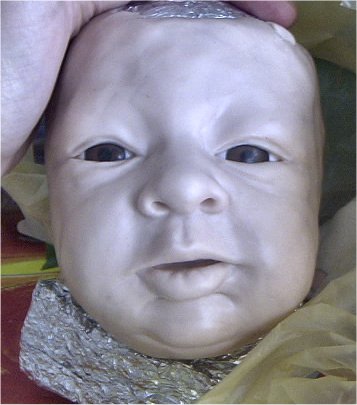 |
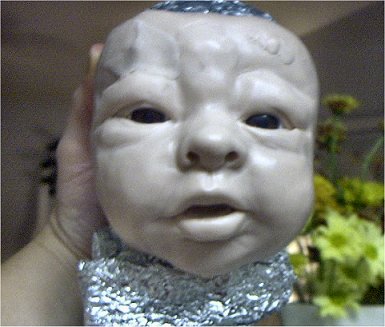
| 7. The strip of clay between the brows has at last been formed into the forehead and nose bridge, creating a slight lump between the eyebrows. | 8. A front view, showing more texturing around the eyes, nose and mouth. Note fine, faint ridges on lips. | 9. The finished head. |
Return to Top of Kari's Tutorial
Doll Annex Tutorial Main Page
Background from Absolute Background Textures