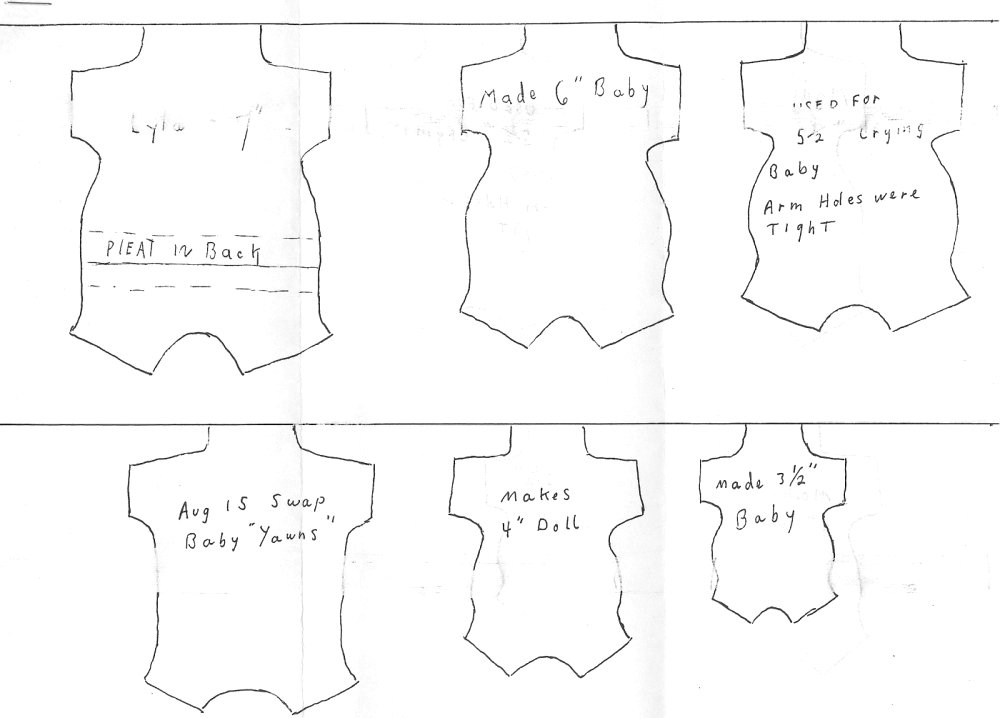
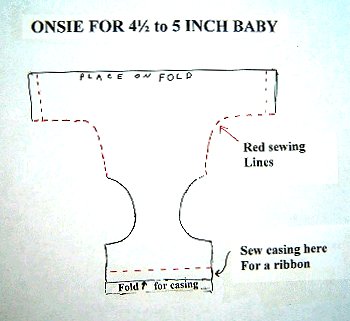
Onesie Pattern and Instructions by Dianne Noyes
Image enhanced in Paint Shop Pro 7 by webmaster
1.
Draw pattern on fabric placing the arms on the fold.
2.
Cut a wide margin around the pattern so you have a manageable size piece
to sew on.
3.
Hem the sleeves: Cut a half inch or more under the sleeves so you can
fold the material on the solid line and stitch the hem, then trim close to the
stitching.
4.
Sew the side seams (red dash line).
5.
You can cut the garment out now but plan on sewing a casing in one of the
bottom flaps for a ribbon that will tie at the waist.
6.
Cut a hole for the neck and cut down the back. I hand sew a thin ribbon
around the neck to hide the raw edges and leave ends long enough to tie in a bow
in the back.
7.
The bottom front is cut shorter and tucked under the baby’s bottom. The
back flap with the casing and ribbon is put between the baby’s legs and up to
the waistline and the ribbon is tied in a bow in the back. Or if you prefer, you
can make it so the ribbons tie in front.
8.
The leg openings and the slit in back remain raw edges so use a material
that does not fray a lot.
9.
This pattern is for a 4 ½ to 5 inch baby. It measures 5 ½
inches across the top. I usually have to make more than one before I get
one the right size. I keep redrawing the pattern until I get one to fit.
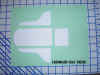
Onesie Pattern - Body
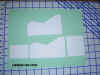
Pattern - Car Seat Pattern
Pattern by Dianne Noyes
Click on thumbnail for larger image

Onesie Pattern - Body
Pattern - Car Seat Pattern
Pattern by Dianne Noyes
Click on thumbnails for larger images
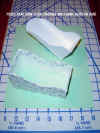
Cardboard
Seat Pieces
|
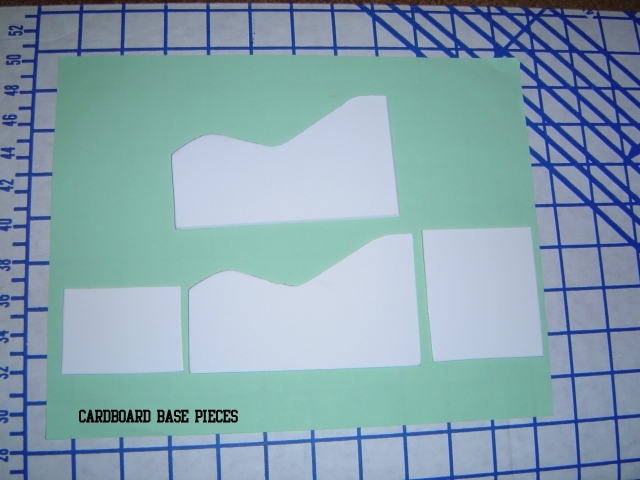
Cardboard
Base Pieces
|
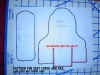
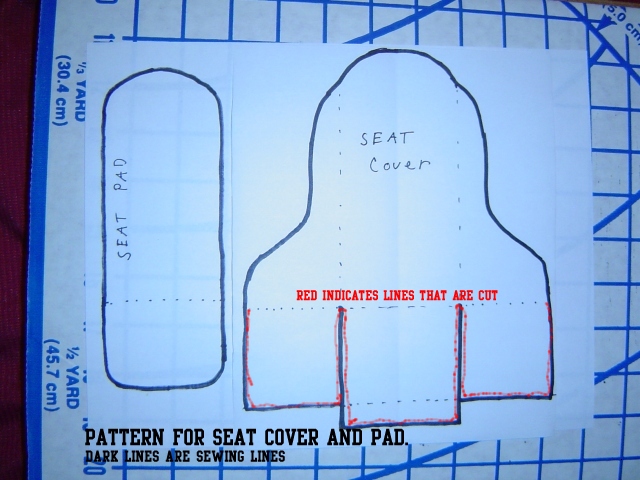
Pattern for Seat
Cover and Pad
|
Assembled Car
Seat and Pad pieces
|
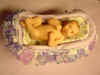
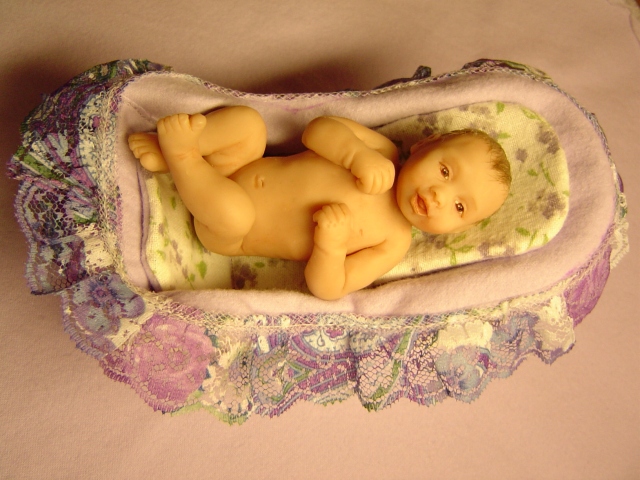
A finished example
|
Onesie Pattern - Body
Pattern - Car Seat Pattern
Background from Absolute
Background Textures |