Short tutorials and helpful images - click on thumbnails to
view larger images
Dottie's Wig Tutorial - Dianne
N's Cloth-Body Doll - Allie's Cloth-Body Doll and Other
Tutorials -
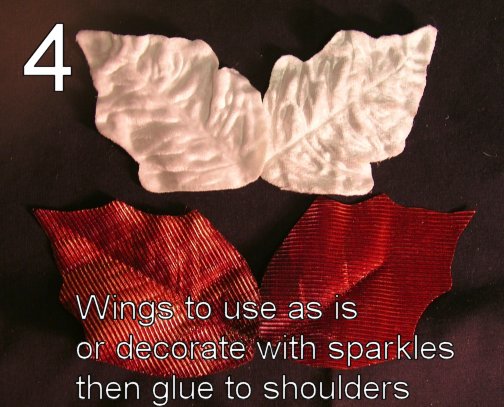
Pat's Fairy Wing Tutorial
|
|
|
|

|
|
|
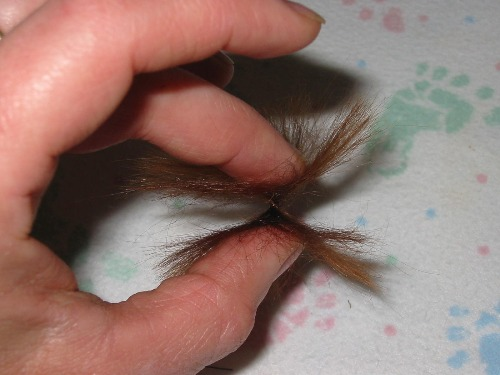
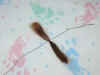
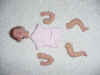
| 1. Tie your bundle of hair
around the middle with a similarly-colored thread. |
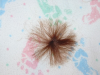
2. Flatten the hair on
either side of the thread. |
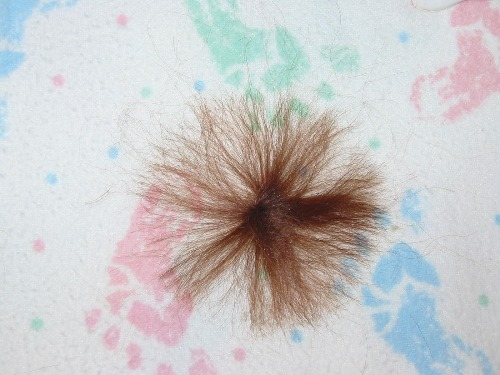
3. Your wig should now look
like this - frayed out on top, frayed out on bottom, and bound in the
middle. |
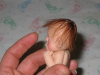
4. Attach the wig to the
doll's head as shown. |
Dottie's Wig Tutorial - Dianne
N's Cloth-Body Doll - Allie's Cloth-Body Doll and Other
Tutorials -
Pat's Fairy Wing Tutorial
|
|
 |
 |
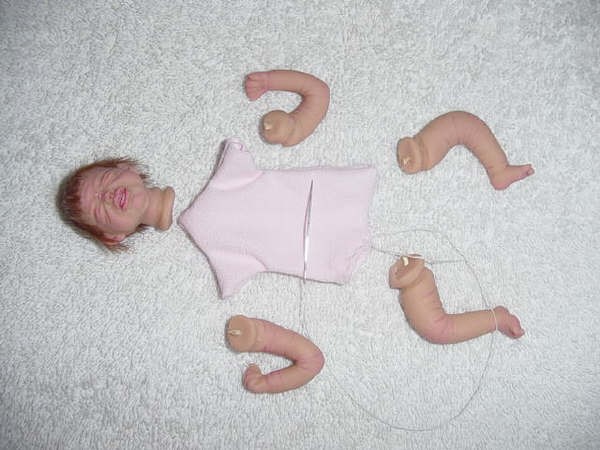
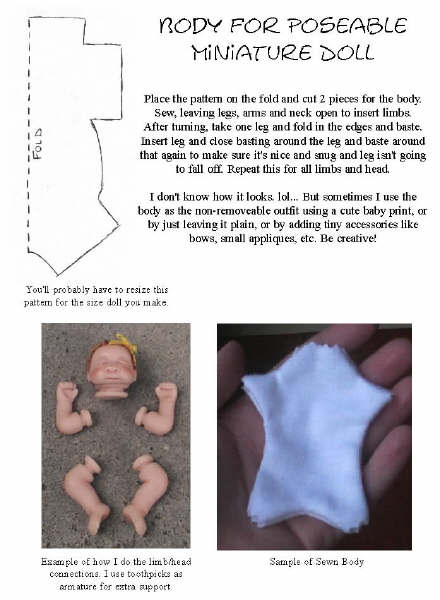
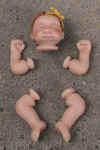
| This is how the
parts look when separate. Note the "rings" around the
ends of the limbs and the neck. (Remember, when sewing up the
body, to leave the holes for arms, legs and head open!) |
A photo showing
the scale of the doll, and how the completed cloth-body doll looks. |
Dottie's Wig Tutorial - Dianne
N's Cloth-Body Doll - Allie's Cloth-Body Doll and Other
Tutorials -
Pat's Fairy Wing Tutorial
|
|
 |
 |
 |
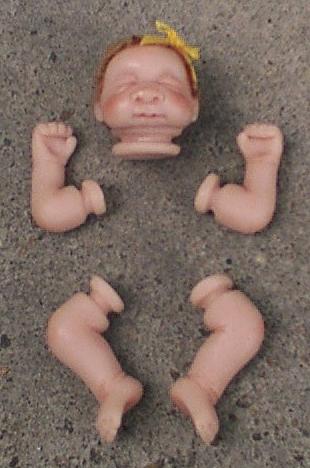
| A picture of limbs and head for a
cloth-bodied doll. |
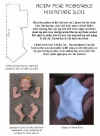
A pattern, with instructions, for a
cloth-bodied doll. |
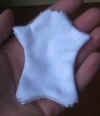
A picture of the cloth body for a
cloth-bodied doll. |
 |
 |
|
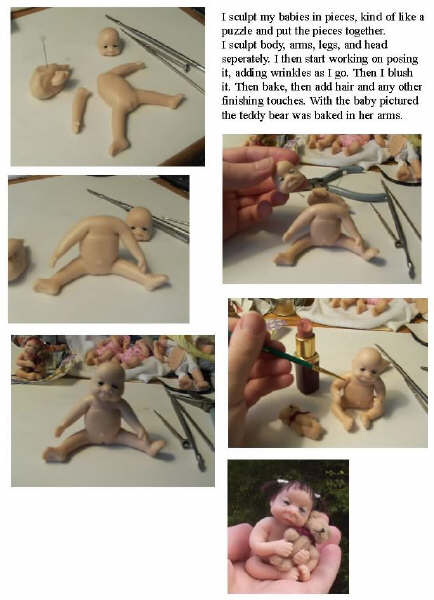
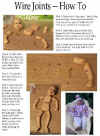
| An illustrated tutorial on making
wire-jointed dolls. |
An illustrated tutorial on making a
solid-body doll. |
|
Dottie's Wig Tutorial - Dianne
N's Cloth-Body Doll - Allie's Cloth-Body Doll and Other
Tutorials -
Pat's Fairy Wing Tutorial
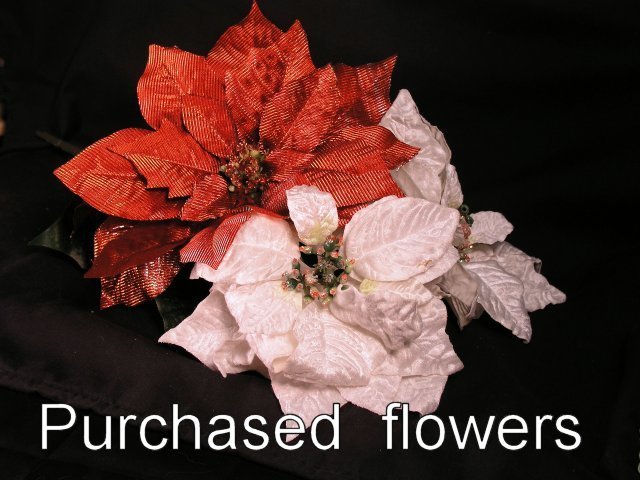
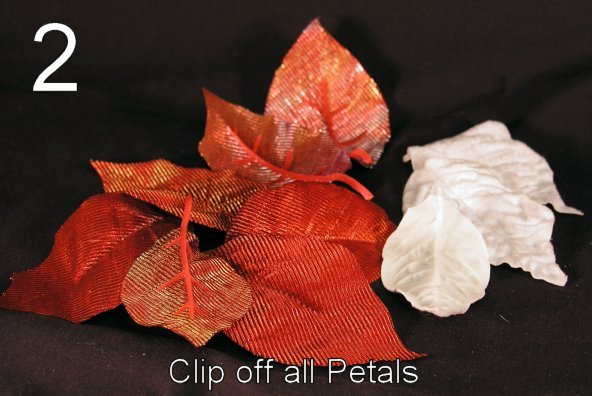
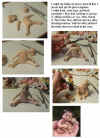
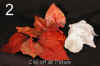
Pat's Fairy Wings Tutorial
Tutorial images, text by Pat Weber
(Click on thumbnails for larger image - explanations with each image)
|
 |
 |
 |
 |
Dottie's Wig Tutorial - Dianne
N's Cloth-Body Doll - Allie's Cloth-Body Doll and Other
Tutorials -
Pat's Fairy Wing Tutorial
Background from Absolute
Background Textures |